如题git仓库中有子仓库,子仓库代码上传不成功,首先我们应该避免仓库嵌套的问题,这种一般不是合理的.应该使用package来管理,不管是私有还是共有.
如果想快速解决问题.可以使用下面的方法:
# 进到子仓库.git所在的目录执行下面命令
rm -rf .git
git rm -r --cached .
如题git仓库中有子仓库,子仓库代码上传不成功,首先我们应该避免仓库嵌套的问题,这种一般不是合理的.应该使用package来管理,不管是私有还是共有.
如果想快速解决问题.可以使用下面的方法:
# 进到子仓库.git所在的目录执行下面命令
rm -rf .git
git rm -r --cached .
1、错误提示:
“mkimage” command not found – U-Boot images will not be built
2、解决方式
sudo apt-get install uboot-mkimage
sudo apt-get install u-boot-tools
1、尝试启动docker
root@DESKTOP-3TQ8K9B:~# systemctl start docker
Job for docker.service failed because the control process exited with error code.
See "systemctl status docker.service" and "journalctl -xeu docker.service" for details.
2、查看启动log
root@DESKTOP-3TQ8K9B:~# sudo dockerd --debug
INFO[2022-08-05T23:05:51.543106408+08:00] Starting up
......
failed to start daemon: Error initializing network controller: error obtaining controller instance: unable to add return rule in DOCKER-ISOLATION-STAGE-1 chain:  (iptables failed: iptables --wait -A DOCKER-ISOLATION-STAGE-1 -j RETURN: iptables v1.8.7 (nf_tables):  RULE_APPEND failed (No such file or directory): rule in chain DOCKER-ISOLATION-STAGE-1
 (exit status 4))
3、解决问题
sudo update-alternatives --set iptables /usr/sbin/iptables-legacy
1、安装依赖库
apt-get install ntfs-3g2、查看所有插入优盘
lsblk3、格式化优盘(根据以上查到的结果)
mkfs.ext4 /dev/sda4、安装可视化管理WEB
apt update && apt install cockpit cockpit-storaged -y访问管理页面
http://路由器IP地址:9090
如
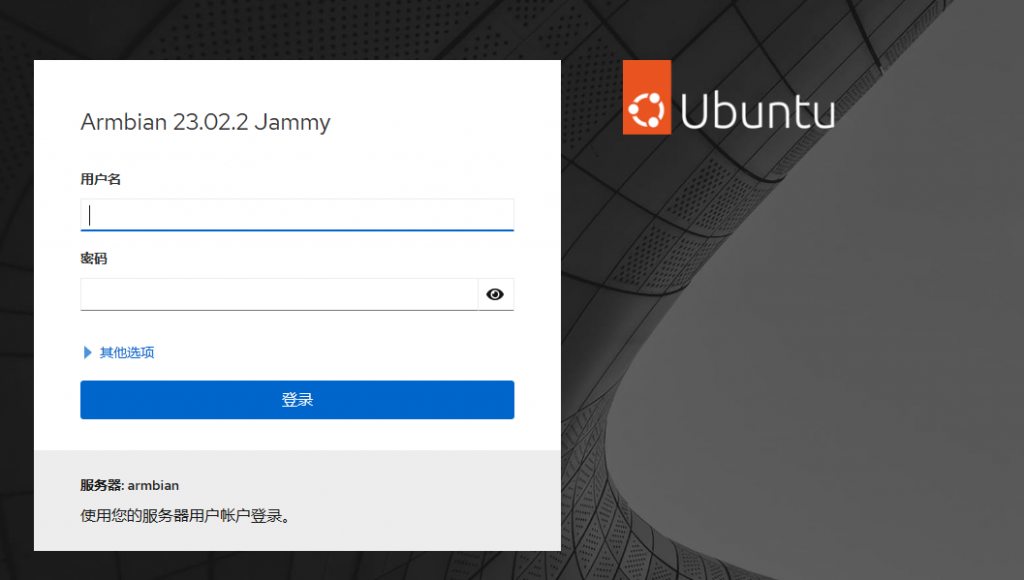
http://192.168.1.100:9090登录管理,账户为armbian本身登录账户密码
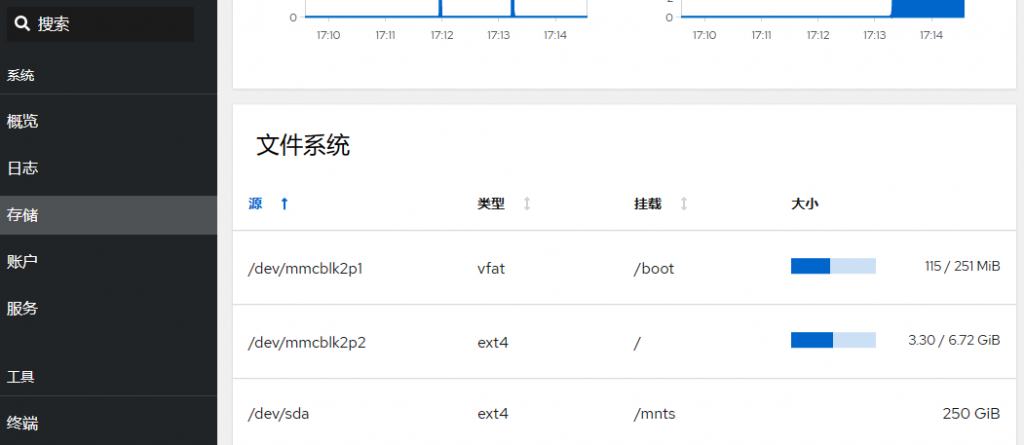
5、打开/etc/fstab文件,修改参数。
/dev/sda1 /mnts ext4 defaults,nofail 0 2/dev/sda1 u盘位置
/mnts 挂载位置(甜糖要挂载在这里)
ext4 u盘格式 vfat ntfs ext4…
defaults,nofail 自动挂载并忽略失败
0 2 顺序之类的
内核变更(升级或者降级)
检查目标内核版本是否存在
sudo apt search 'linux-image-5.11.0-44-generic'
若存在,继续安装
sudo apt install 'linux-image-5.11.0-44-generic’
更新
sudo vi /etc/default/grub
GRUB_DEFAULT="Advanced options for Ubuntu>Ubuntu, with Linux 5.11.0-44-generic"
执行内核锁定步骤
sudo update-initramfs -u -k all
sudo update-grub
reboot
安装新版本内核头文件,用于开发编译
sudo apt install linux-headers-5.11.0-44-generic
锁定内核版本
sudo apt-mark hold linux-headers-5.11.0-44-generic linux-image-5.11.0-44-generic1、uboot支持SD、优盘启动
安卓刷机固件:
2、下载armbian
armbian地址:https://gitee.com/recologypower/amlogic-s9xxx-armbian.git
名称:HEU_KMS_Activator
地址:https://github.com/zbezj/HEU_KMS_Activator