1、安装anaconda
进入官网:https://www.anaconda.com/download/success
下载后一路默认安装就可以

安装完以后,创建yolov11环境:
conda create -n yolov11 python=3.12
激活环境:
conda activate yolov11
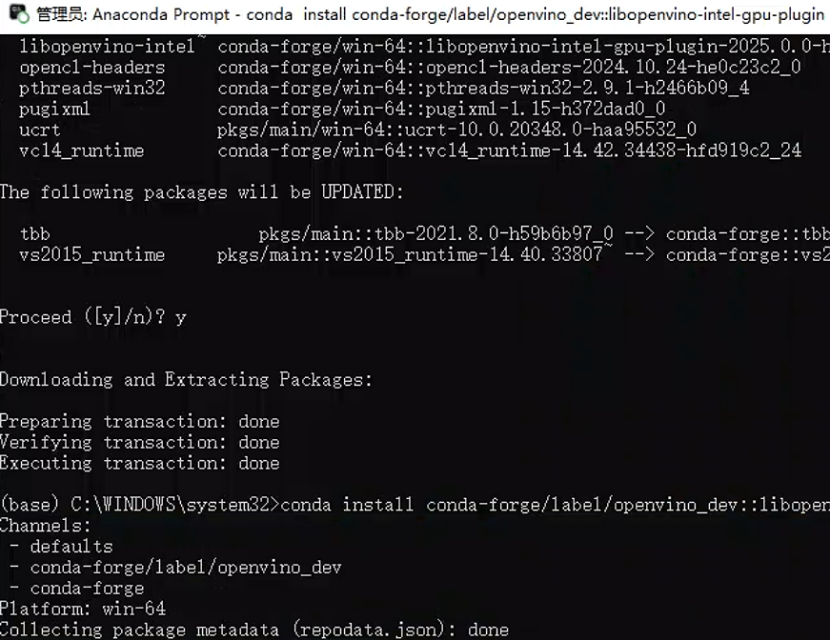
2、安装GPU环境
Intel GPU ENV:https://anaconda.org/conda-forge/libopenvino-intel-gpu-plugin
To install this package run one of the following:
conda install conda-forge::libopenvino-intel-gpu-plugin
conda install conda-forge/label/openvino_dev::libopenvino-intel-gpu-plugin
管理员权限打开
NVIDA GPU ENV:
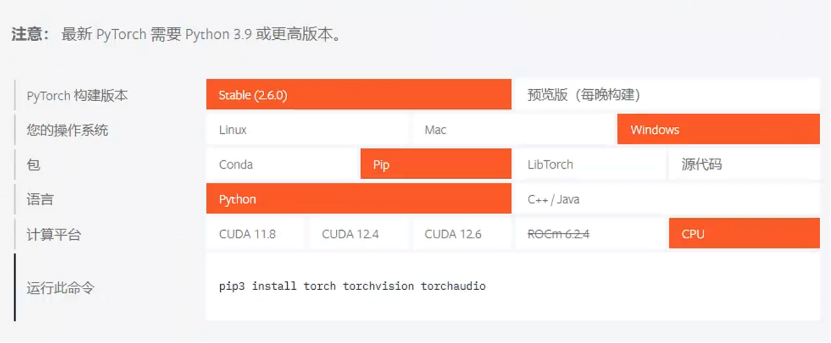
3、安装Pytorch
进入pytorh官网:https://pytorch.org/get-started/locally/
选择版本:
4、安装ultralytics库
pip install ultralytics
5、更换源库
conda config –remove-key channels
conda config –add channels https://mirrors.tuna.tsinghua.edu.cn/anaconda/pkgs/free/
conda config –add channels https://mirrors.tuna.tsinghua.edu.cn/anaconda/pkgs/main/
conda config –add channels https://mirrors.tuna.tsinghua.edu.cn/anaconda/cloud/conda-forge/
conda config –set show_channel_urls yes
pip config set global.index-url https://mirrors.ustc.edu.cn/pypi/web/simple