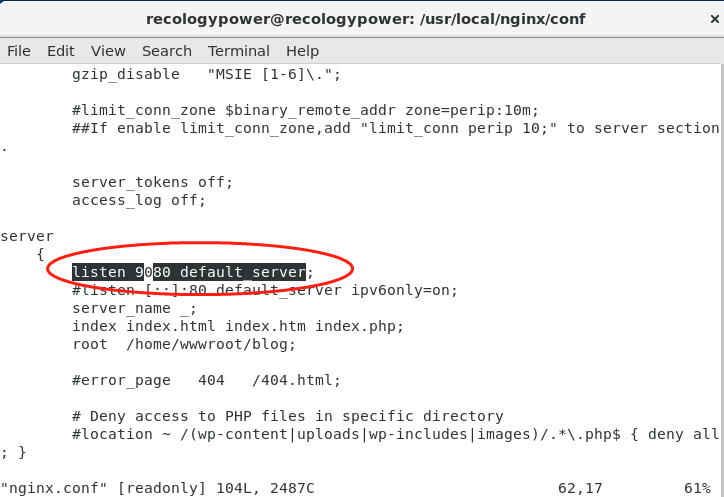
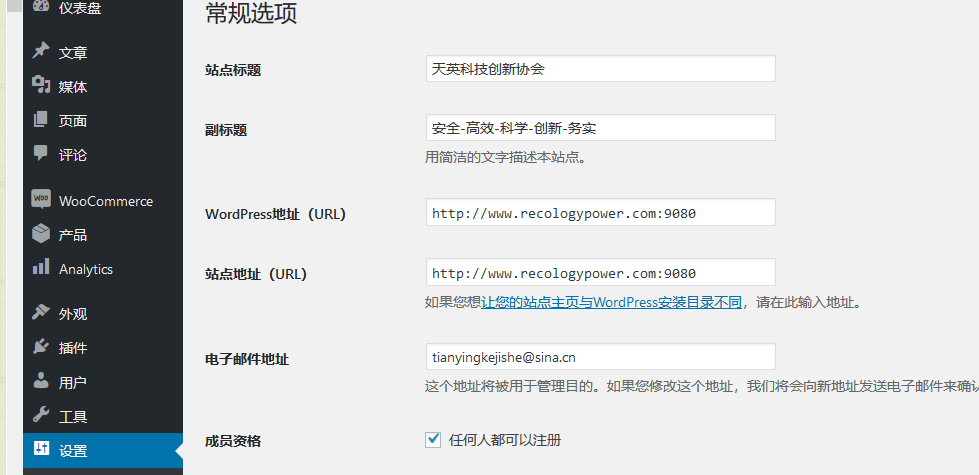
在 Nginx 中配置多个网站(虚拟主机)非常简单,通常通过创建多个服务器块(server block)来为不同的域名或子域名提供不同的站点服务。每个 server block 对应一个网站配置。下面是详细的步骤:
1、创建网站目录
首先,你需要为每个网站创建一个目录,并将网站的文件放在其中。例如,假设你有两个网站,分别是 site1.com 和 site2.com。
sudo mkdir -p /var/www/site1.com/public_html
sudo mkdir -p /var/www/site2.com/public_html
然后,可以在每个目录下创建一个 index.html 文件来测试网站是否配置正确:
echo "<h1>Welcome to site1.com</h1>" | sudo tee /var/www/site1.com/html/index.html
echo "<h1>Welcome to site2.com</h1>" | sudo tee /var/www/site2.com/html/index.html
2. 配置 Nginx 服务器块
在 Nginx 中,每个网站配置通常放在 /etc/nginx/sites-available/ 目录下,并通过符号链接链接到 /etc/nginx/sites-enabled/ 目录。这样可以更方便地管理多个网站。
2.1 创建配置文件
首先,进入 Nginx 的配置目录:
cd /etc/nginx/sites-available然后为每个网站创建一个配置文件。比如,为 site1.com 创建配置文件 site1.com:
sudo nano /etc/nginx/sites-available/site1.com在该文件中添加以下内容:
server {
listen 80;
server_name site1.com www.site1.com;
root /var/www/site1.com/html;
index index.html;
location / {
try_files $uri $uri/ =404;
}
}
对于 site2.com,创建一个类似的配置文件:
sudo nano /etc/nginx/sites-available/site2.com在该文件中添加以下内容:
server {
listen 80;
server_name site2.com www.site2.com;
root /var/www/site2.com/html; index index.html;
location / {
try_files $uri $uri/ =404;
}
}
2.2 启用站点配置
为了启用这两个配置,我们需要创建符号链接,将它们链接到 /etc/nginx/sites-enabled/ 目录。
sudo ln -s /etc/nginx/sites-available/site1.com /etc/nginx/sites-enabled/
sudo ln -s /etc/nginx/sites-available/site2.com /etc/nginx/sites-enabled/
3. 测试 Nginx 配置
在修改 Nginx 配置后,最好先测试配置是否正确:
sudo nginx -t如果一切正常,应该会显示 syntax is okay 和 test is successful。
4. 重启 Nginx 服务
如果配置文件没有问题,重新加载或重启 Nginx 服务使配置生效:
sudo systemctl reload nginx或者,如果你更改了主要的 Nginx 配置文件,也可以使用:
sudo systemctl restart nginx5. 测试网站
现在,你可以在浏览器中访问 http://site1.com 和 http://site2.com,并验证两个站点是否能够正常显示它们各自的内容。如果你配置了本地解析,在本地测试时可以通过 curl 或直接在浏览器中输入地址来测试。
6. 配置 SSL(可选)
如果你想为这些网站配置 HTTPS(SSL),你需要为每个站点获取 SSL 证书。你可以使用 Let’s Encrypt 免费提供的证书。以下是配置 SSL 的基本步骤:
6.1 安装 Certbot
首先,安装 Certbot 和 Nginx 插件:
sudo apt install certbot python3-certbot-nginx6.2 获取 SSL 证书
然后,运行 certbot 来为你的站点自动申请和配置 SSL 证书:
sudo certbot –nginx -d site1.com -d www.site1.com
sudo certbot –nginx -d site2.com -d www.site2.com
Certbot 会自动为你的站点配置 SSL,并更新 Nginx 配置文件。
6.3 自动续期
为了确保 SSL 证书能够自动续期,可以设置一个定时任务(Cron job):
sudo crontab -e添加以下行:
0 0,12 * * * certbot renew --quiet这样 certbot 将每天自动检查并更新证书。
搞定!


