如果在uboot中实现了LCD等显示设备的驱动,uboot在启动的时候会在屏幕的左上角显示一个logo,如下图:
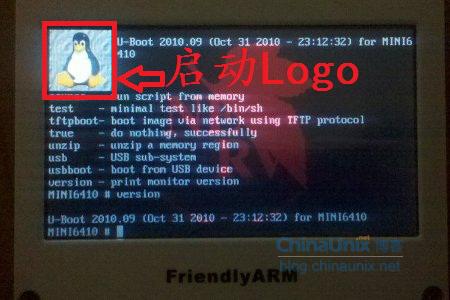
这个logo默认情况(只定义了CONFIG_VIDEO_LOGO)是如上图所示的企鹅(如果还定义了CONFIG_VIDEO_BMP_LOGO会是denx的标志),这个是存在于uboot代码中的一个头文件(include/video_logo.h或 bmp_logo.h),如果大家看了这个头文件,发现这个是一个巨大的结构体,其中保存着图片每个像素点的色彩数据。 这样如果要更换这个默认的logo岂不是自己要生成这样一个数据结构体才行?答案是肯定的。 但是这样一个结构体要怎么生成呢?这个uboot源码早就为我们想好了,方法其实很简单:
一、准备一张jpeg图片,通过命令行处理为8bit BMP图片。 处理脚本如下:
    #!/bin/sh
    #install Netpbm first
    jpegtopnm $1 | ppmquant 31 | ppmtobmp -bpp 8 > $2
使用方法: (脚本名) ( 待处理的JPG图片名) (输出文件名)
之所以用jpeg转bmp的办法,是通过实验证明这种方面可行且简便。 图片的大小不一定要和原来一样,你觉得合适就好。
二、将bmp文件放入/tools/logos中,并修改/tools/下的Makefile
    # Generated LCD/video logo
    LOGO_H = $(OBJTREE)/include/bmp_logo.h
    LOGO-$(CONFIG_LCD_LOGO) += $(LOGO_H)
    LOGO-$(CONFIG_VIDEO_LOGO) += $(LOGO_H)
    ifeq ($(LOGO_BMP),)
    LOGO_BMP= logos/denx.bmp
    endif
    ifeq ($(VENDOR),atmel)
    LOGO_BMP= logos/atmel.bmp
    endif
    ifeq ($(VENDOR),esd)
    LOGO_BMP= logos/esd.bmp
    endif
    ifeq ($(VENDOR),freescale)
    LOGO_BMP= logos/freescale.bmp
    endif
    ifeq ($(VENDOR),ronetix)
    LOGO_BMP= logos/ronetix.bmp
    endif
    ifeq ($(VENDOR),syteco)
    LOGO_BMP= logos/syteco.bmp
    endif
红色字体,替换为你制作的bmp文件名。
三、确认配置文件 一定要定义
在u-boot/include/configs/sunxi-common.h 里面增加下面两个宏定义
    #define CONFIG_VIDEO_LOGO
    #define CONFIG_VIDEO_BMP_LOGO
编译的时候,你的bmp文件会被tools/bmp_logo.c编译出的工具bmp_logo制作成include/bmp_logo.h,并编译进uboot中。
四、重新编译u-boot即可得到显示新logo的u-boot。
效果如下图所示:

由于是8bit色深,颜色就有点怪~
如果你看了drivers/video/cfb_console.c源码,你可能会发现还有一个splashimage的东东可以显示。是的,如果你有张非压缩的BMP图片放在了Nor
Flash,你可以在ENV中设置splashimage和splashpos告诉uboot读取和显示的位置。启动的时候,uboot就会显示这个bmp图片。但是,原生的uboot是只支持Nor
Flash和内核的读取的,如果你的图片放在nand flash、SD卡或者SPI、I2C
接口flash中,你可以自己实现将图片文件读取到内存中,然后再显示splash。实现起来并不复杂,关键是使用相关的API函数来读取数据。